How to create infrastructure c2

Documentation: Setting Up C2 Infrastructure on AWS with Mythic
Table of Contents
- Documentation: Setting Up C2 Infrastructure on AWS with Mythic
- First, we need to create an account on amazon.com
Prerequisites
- An AWS account with permissions to create EC2 instances and configure VPCs.
- Basic knowledge of Docker, networking, and AWS configuration.
- Authorization and control over systems where Mythic agents will be deployed.
AWS Setup
Creating an EC2 Instance
- Log into your AWS console and go to EC2.
- Click on Launch Instance.
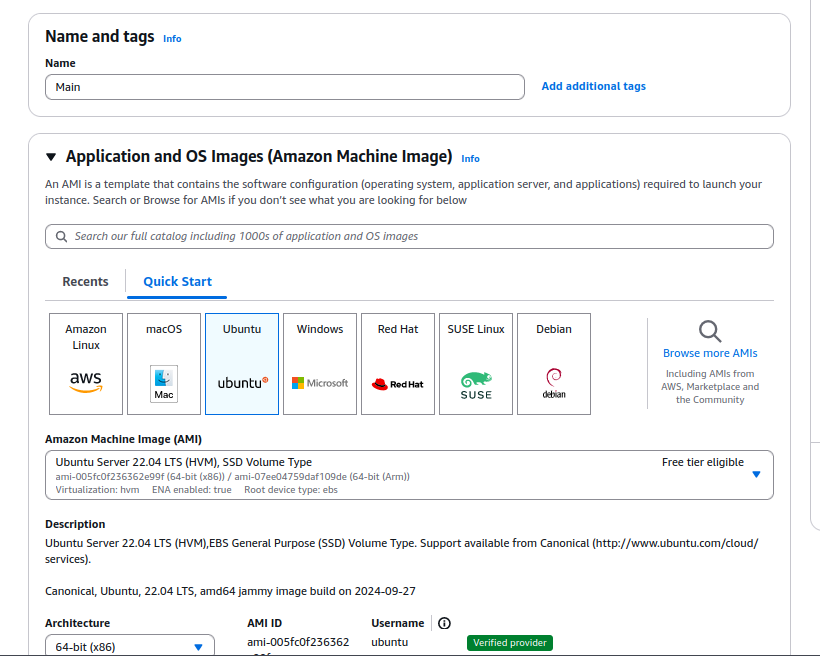
- Select an Ubuntu 20.04 (or similar) AMI (Amazon Machine Image).
- Choose an instance type appropriate for your needs; a t2.medium should suffice.
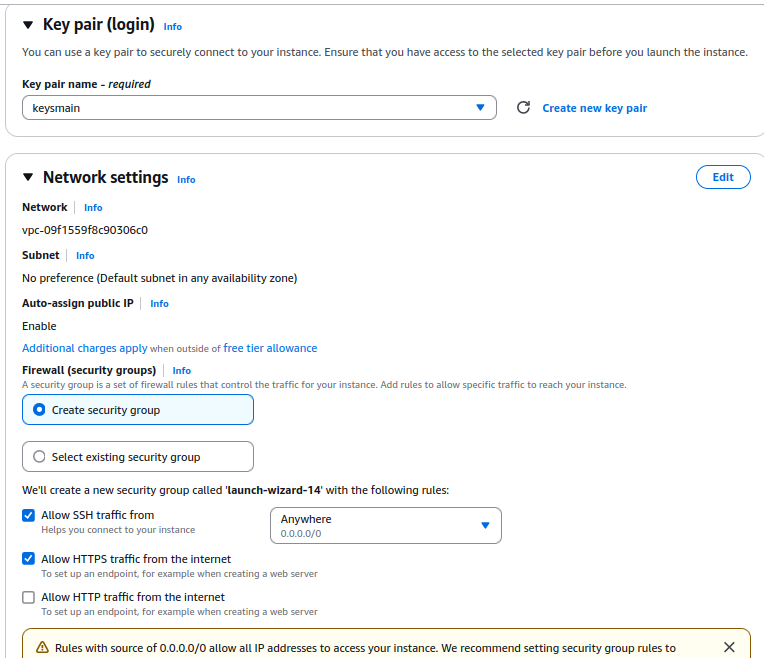
- Configure network details, ensuring:
Security Configuration
- In the Security Group section, set up rules to allow traffic on:
- HTTP (80) for web interface.
- HTTPS (443) if using SSL/TLS.
- TCP (7443) for Mythic connections (default port).
- Restrict access to trusted IP addresses or enable MFA for SSH connections.
First, we need to create an account on amazon.com
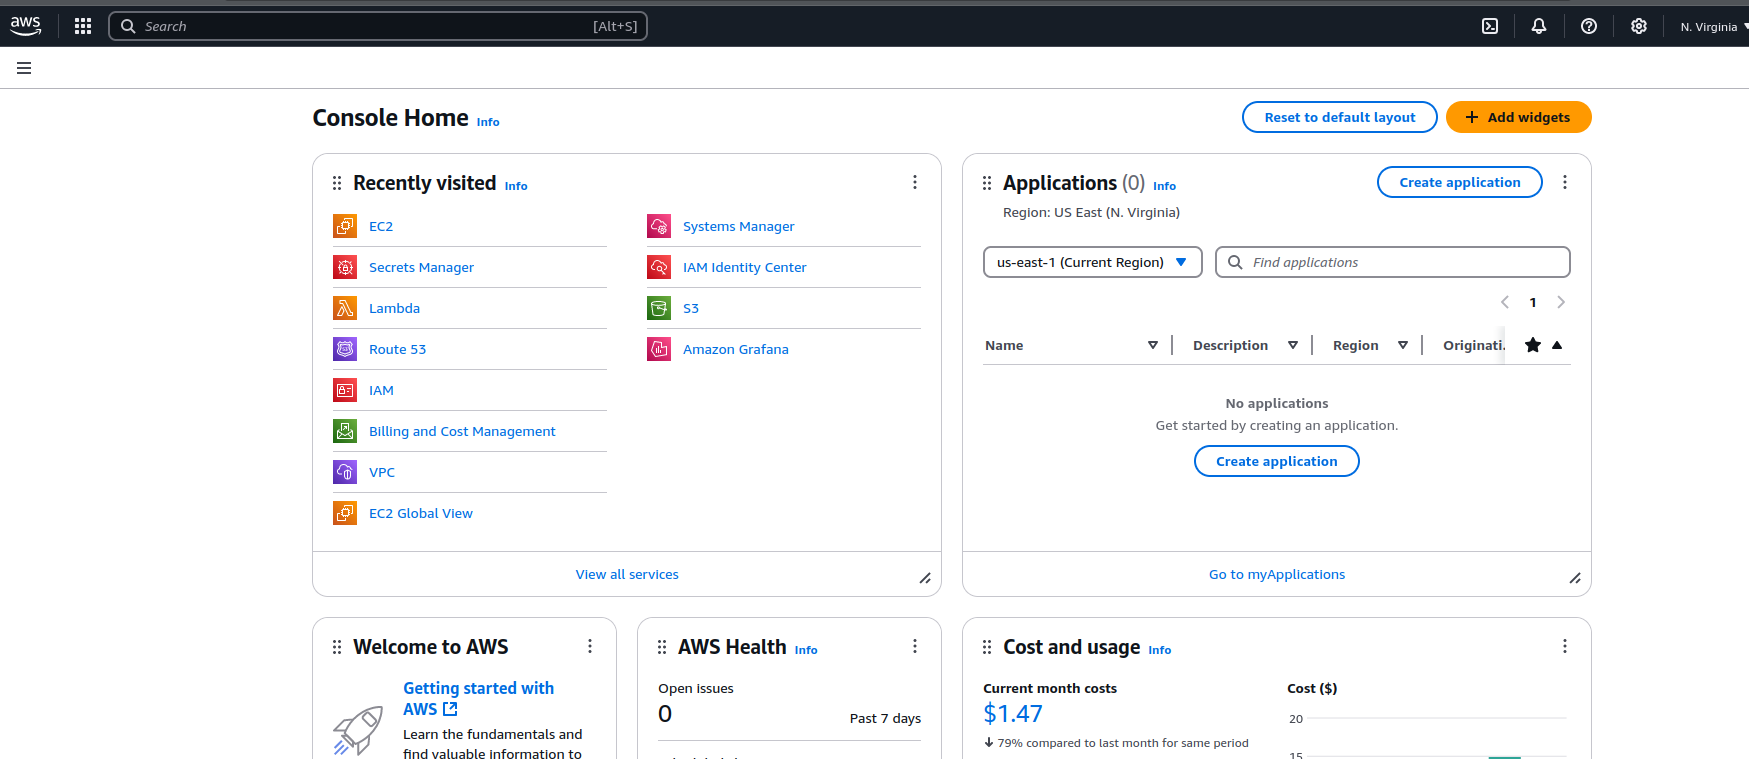
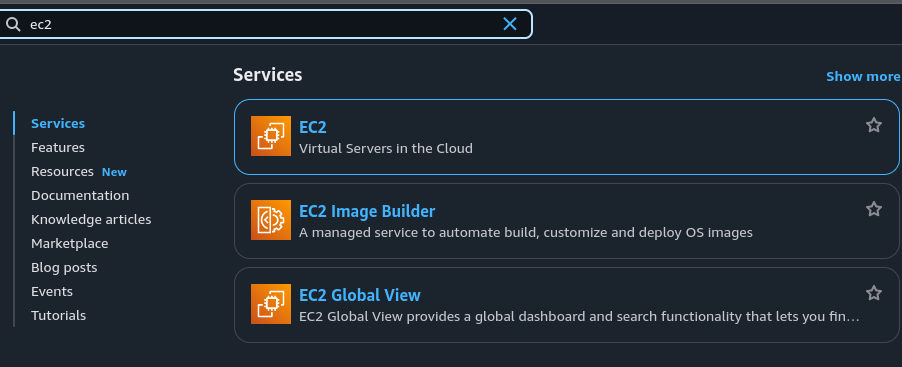
In the search bar, we will look for EC2 and enter:
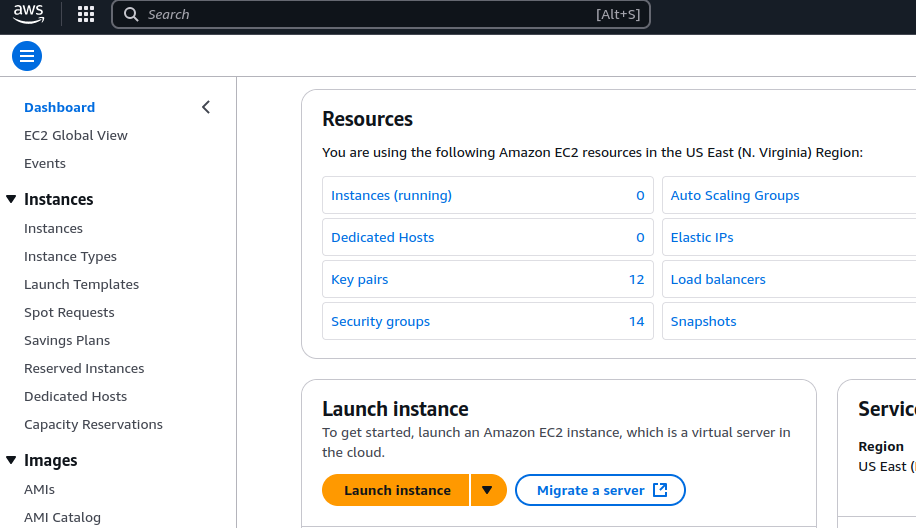
We will create 2 instances in the Amazon cloud that will store Linux or Ubuntu distributions. To do this, we click on the orange Launch instance button:
Setting Up the C2 and Redirector
First, let’s configure our C2 and then our redirector:
It is important to create our key pair because once created, it cannot be downloaded again. We will finish configuring the network settings once we have our redirector as well:
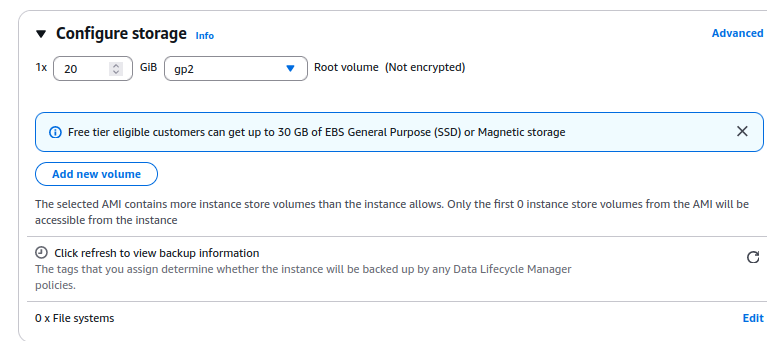
Configure the storage it will have:
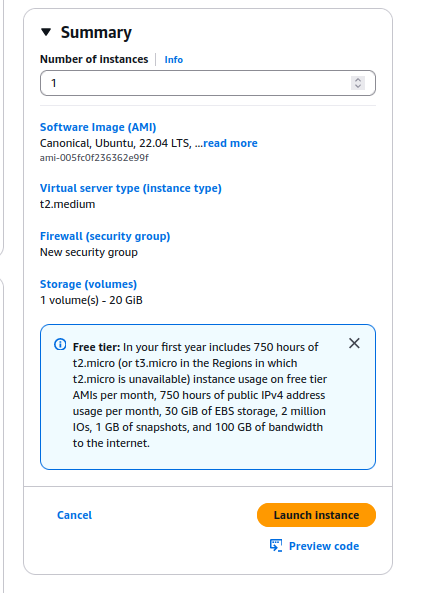
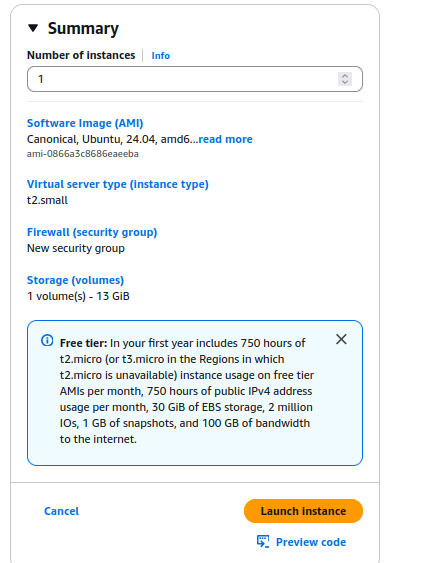
Finally, we launch the instance, and it will look like this:
Now we will create our redirector with the same procedure—launch an instance along with new keys:
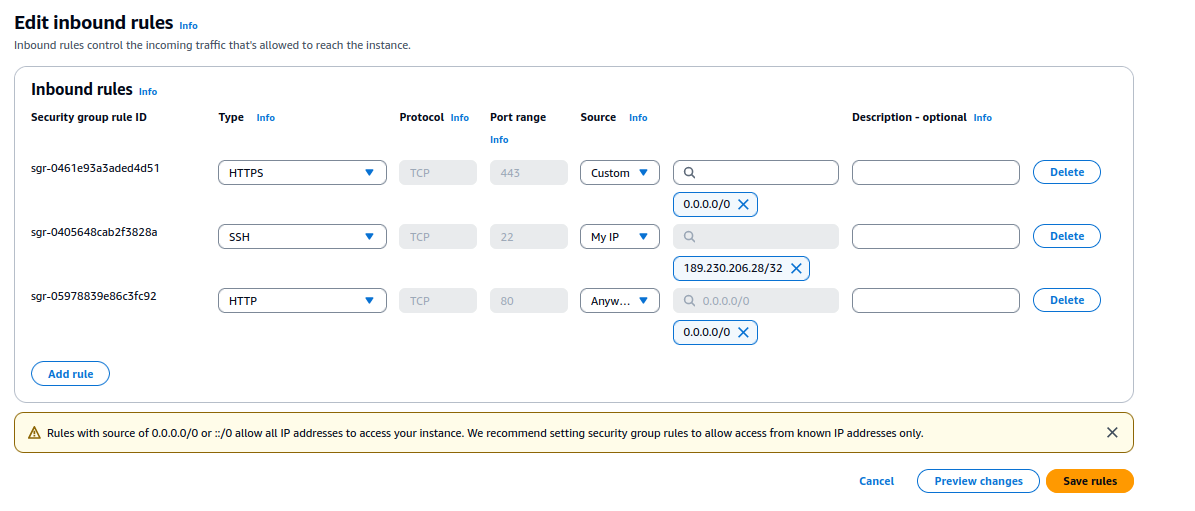
We will temporarily edit the inbound rules of our redirector as follows:
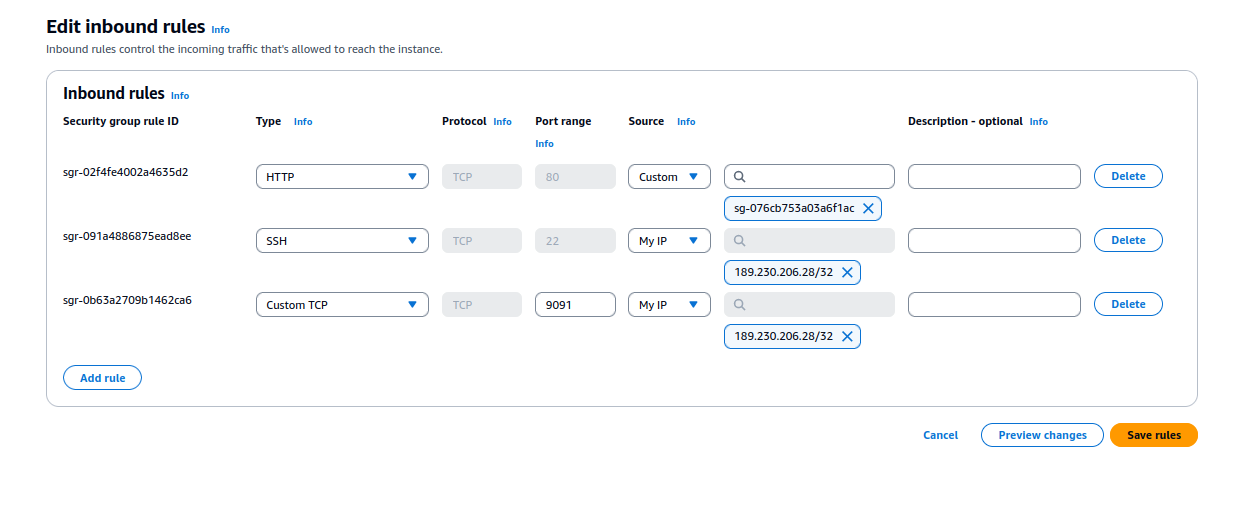
Next, we modify our instance where we will have our C2:
Installing Mythic C2
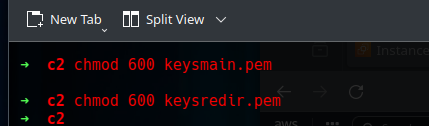
chmod 600: Restricts access to the file owner, meeting SSH requirements.
We grant 600 permissions to our keys so we can use them:
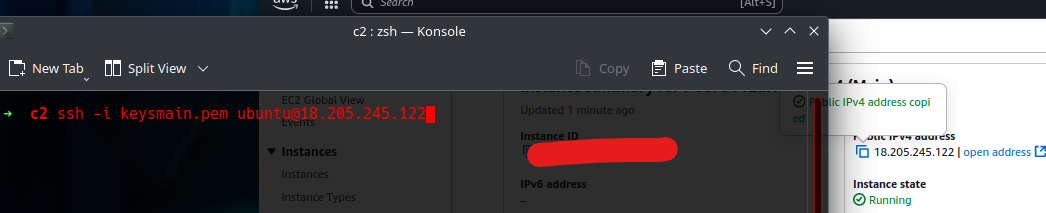
Run the command as follows to access our Ubuntu environment, where we will install our C2:
Update the System
We will use the Mythic documentation for its installation:
Mythic Installation Docs
Repository: https://github.com/its-a-feature/Mythic
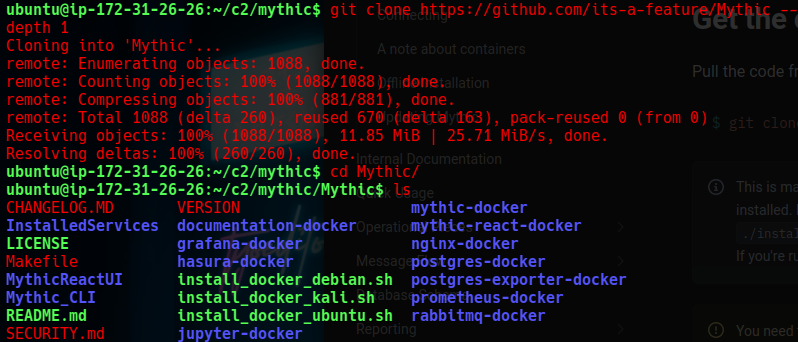
Clone the repository:
1
git clone https://github.com/its-a-feature/Mythic --depth 1
Install Docker:
1
sudo apt install -y docker.io

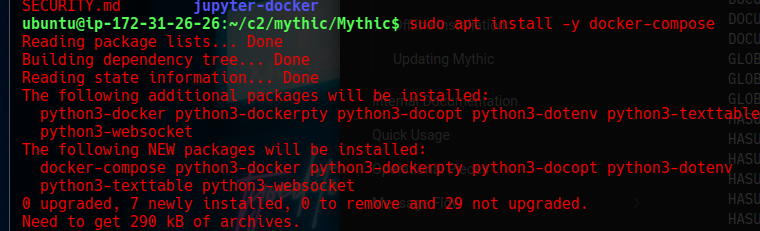
Install Docker Compose:
1
sudo apt install -y docker-compose
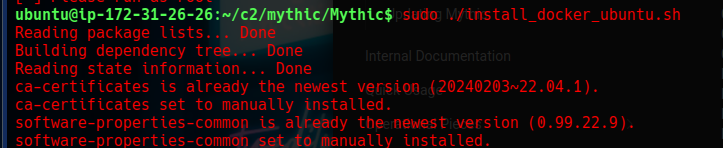
Run the installation script for Ubuntu:
1
sudo ./install_docker_ubuntu.sh
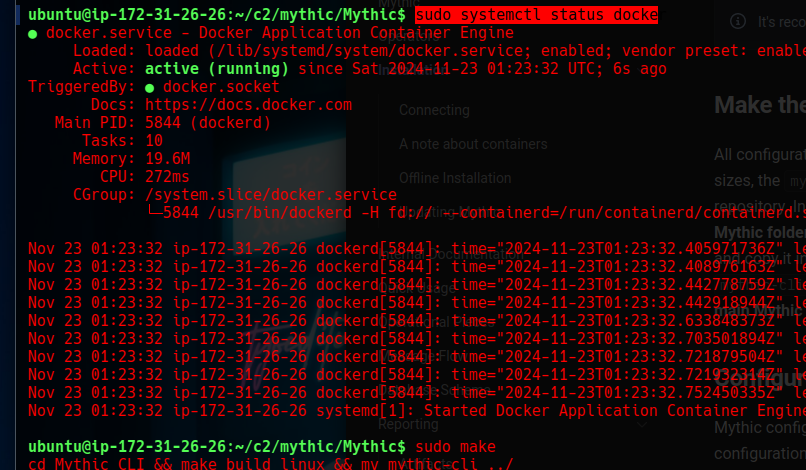
We install make, run the make file, and enable Docker:
1
2
sudo make
sudo systemctl status docker
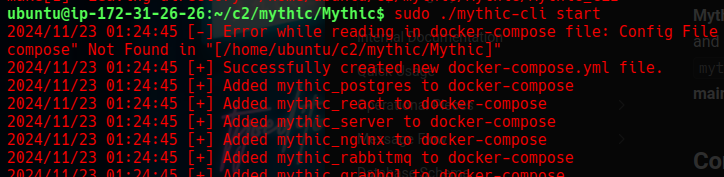
Start Mythic:
1
sudo ./mythic-cli start
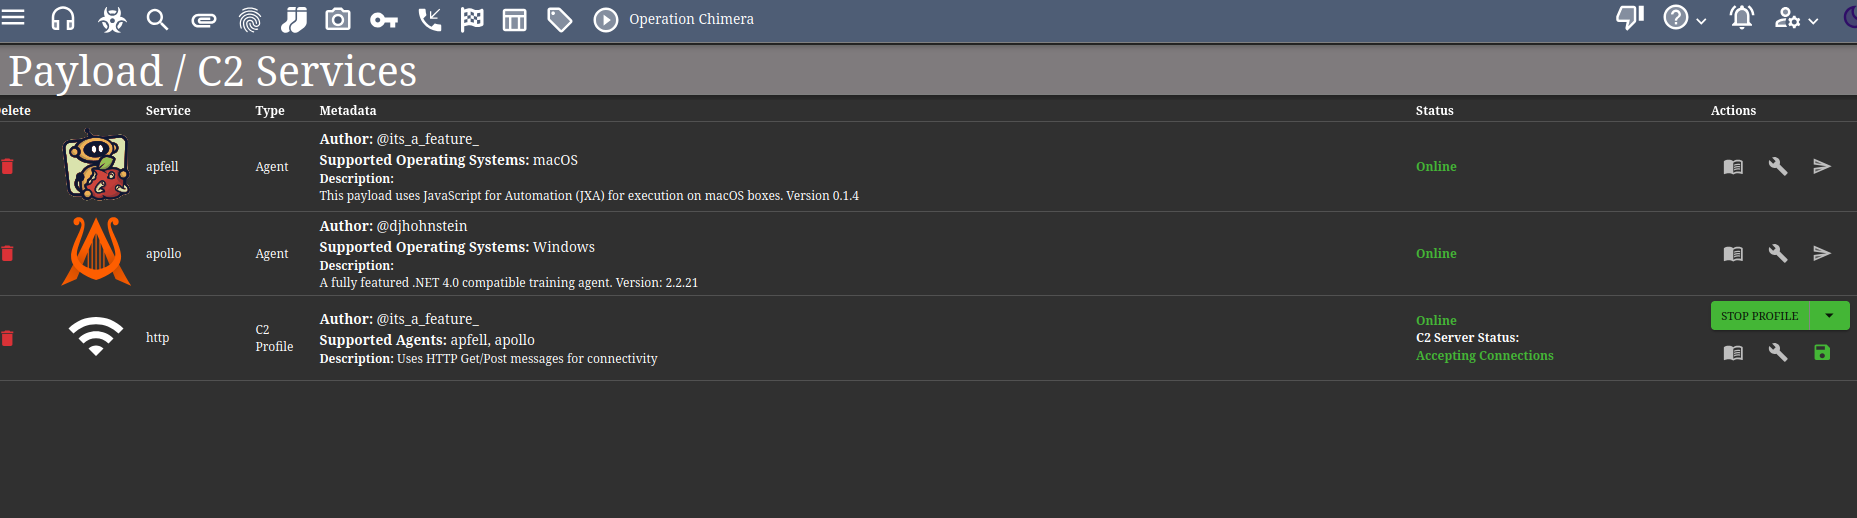
Install the C2 Agents:
1
2
3
sudo ./mythic-cli install github https://github.com/MythicAgents/apfell
sudo ./mythic-cli install github https://github.com/MythicC2Profiles/http
sudo ./mythic-cli install github https://github.com/MythicAgents/apollo
Add an inbound rule to our C2 (main) instance for port forwarding:

We forward port 7443. In a new terminal, run the following command:

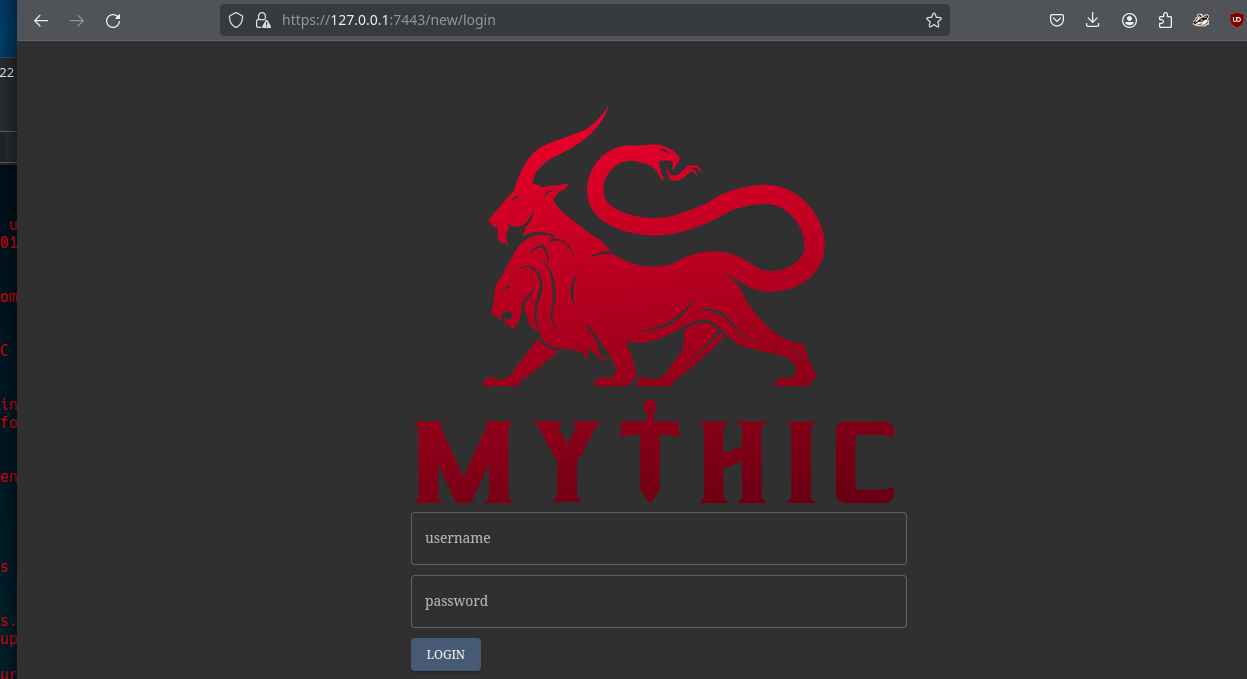
Check the Mythic web interface with the following URL:
https://127.0.0.1:7443/new/login
We look for the password generated by Mythic in its folder as follows:
1
cat .env | grep -iF "PASS"
Log in to Mythic and verify that our agents are online:
Installing Nginx on the Redirector
Access the instance using its corresponding public IP:

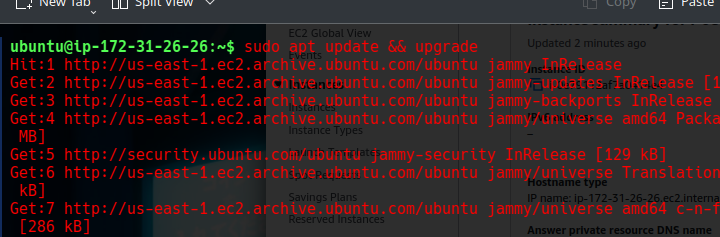
Update Ubuntu:
1
sudo apt update && upgrade

Install nginx:
1
sudo apt install nginx -y
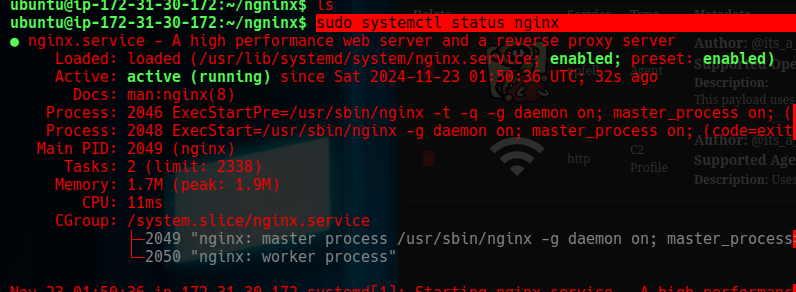
Check if the service is running:
1
sudo systemctl status nginx
Check the web:

Now you can get a domain of your choice with an SSL certificate and modify the DNS:
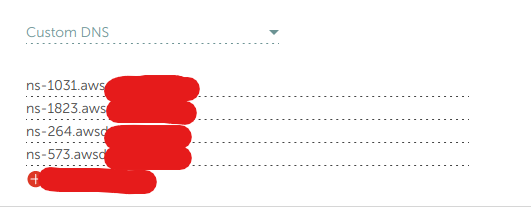
Go to Route 53 to configure your domain:
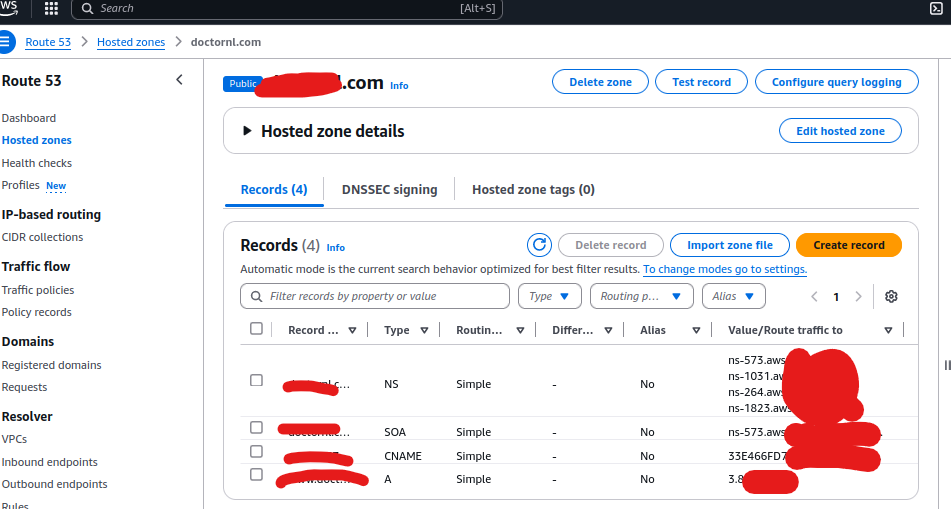
Just confirm that in the Value field, you put the public IP address of the redirector:

Uploading Our Project
We upload our project that simulates a doctors or medical website:

Now we need to create our payload generated with Mythic:

Check the final configuration:

Generating the Payload
Upload our simulated medical website project.

Generate the payload.


Select operate system 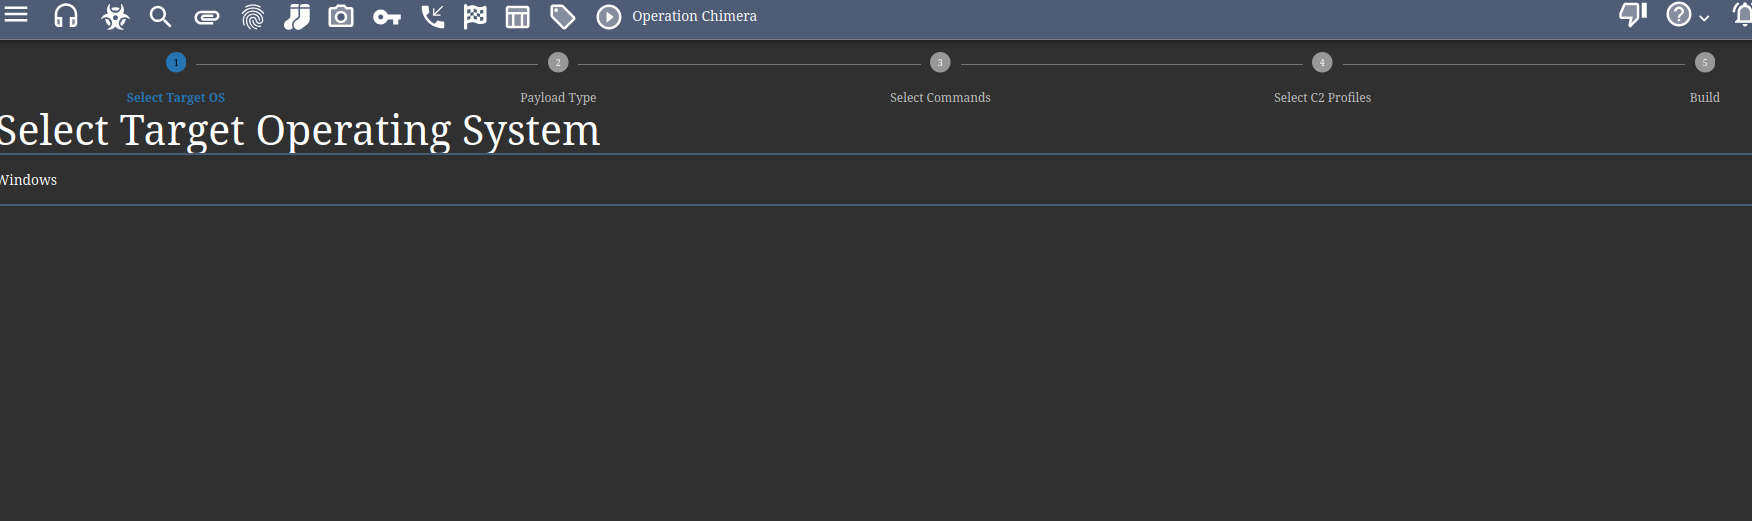

Select our commands that we want our payload to have:
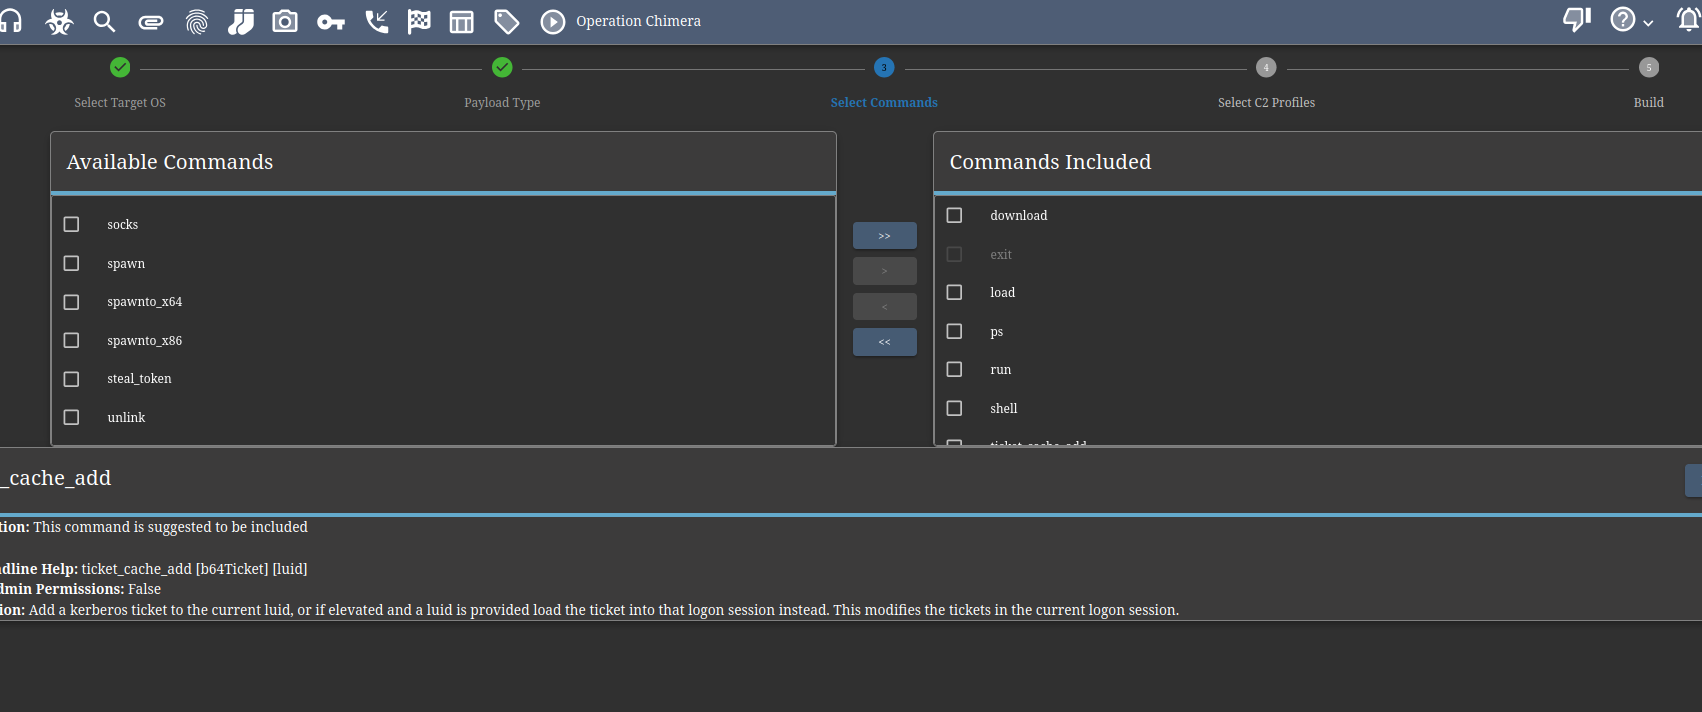
We set up our c2 profile
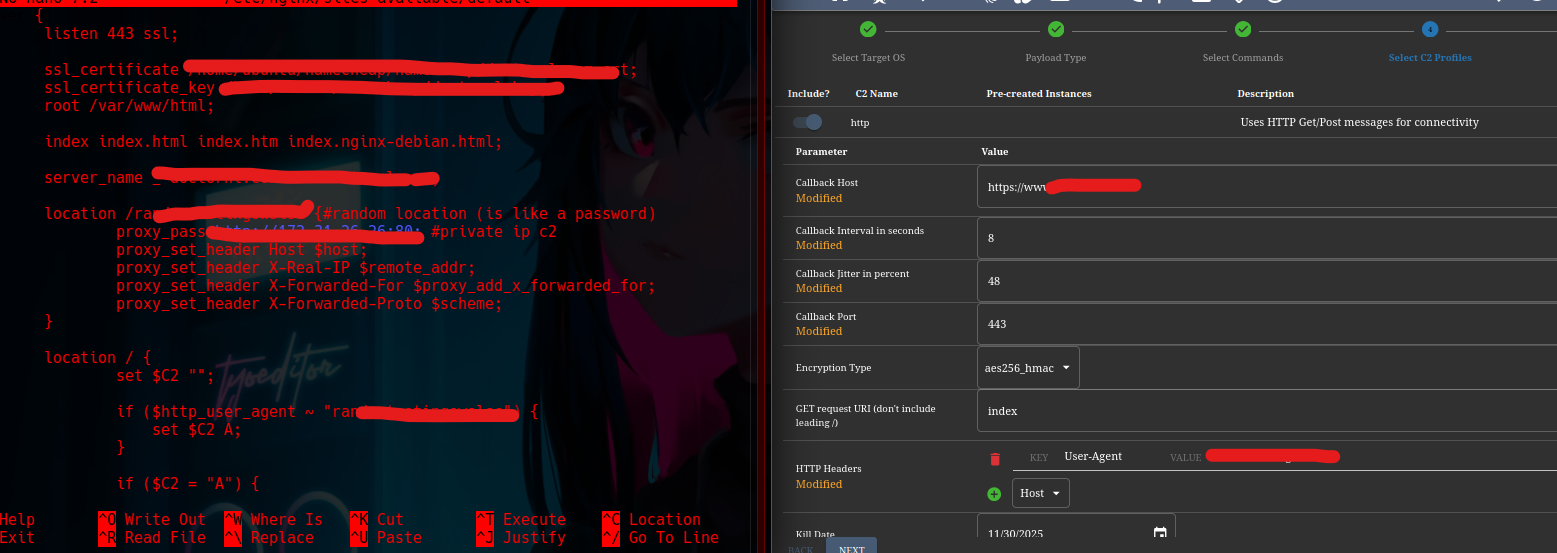
Our callbackhost is modified to our domain and the value is our user agent, the random address

We name our agent the way we set it up in our nginx


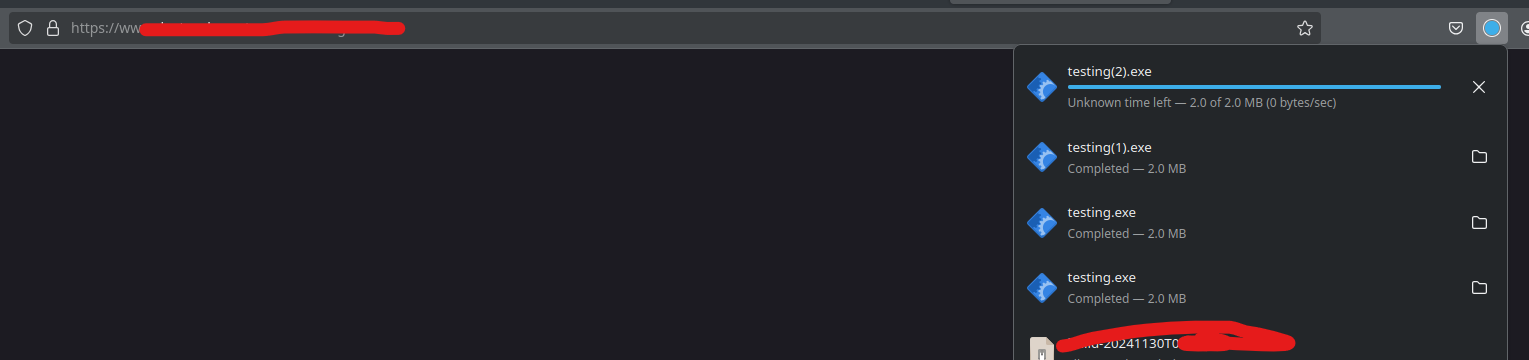
We have our payload generated now we need to move it to our instance as follows:

Verify the final configuration.
Conclusion
In this guide, we have successfully set up and configured a Mythic C2 infrastructure using AWS EC2 instances. We have covered the following key steps:
- Deploying EC2 instances for both the C2 server and the redirector.
- Configuring SSH key pairs to securely access the instances.
- Installing and configuring Mythic C2, including Docker and necessary dependencies.
- Setting up Nginx as a redirector to enhance security and obfuscation.
- Generating and deploying payloads through Mythic C2 for post-exploitation activities.
By following these steps, you now have a working Mythic C2 setup that allows you to manage agents and conduct authorized red team engagements.